They say that memories last a lifetime, but the best part about memories is actually making them.
We always strive to make beautiful memories for our little one.
When the brutal winters here in north east, made it challenging to go outside, we decided to make memories at home 🙂 .

Kindergarten Keepsake Memory Box
Sharing today a super cute and easy DIY activity – A keepsake memory box for your lil ones.
The school year will be soon ending, and I was trying to find a perfect box to store all the memories of my little kindergartener, something that would bring joy to him anytime he looked back at them. A keepsake memory box was the perfect idea and is such a fun project to do together as a family and there are countless ways to go about it.

Here is what you would need –
- A large cardboard box with a lid, any size depending on what you are going to use it to store. You can get a brand new box or recycle an old one. I got mine from Michaels
- Foam sheets of different colors
- Printed Card stock (2-3 sheets)
- 1 favorite picture of your lil one
- 1 ziplock bag (large enough to fit the picture)
- Glue
- Scissors
- Tape
- Colorful gel pens/ markers
First, we worked on the box lid –


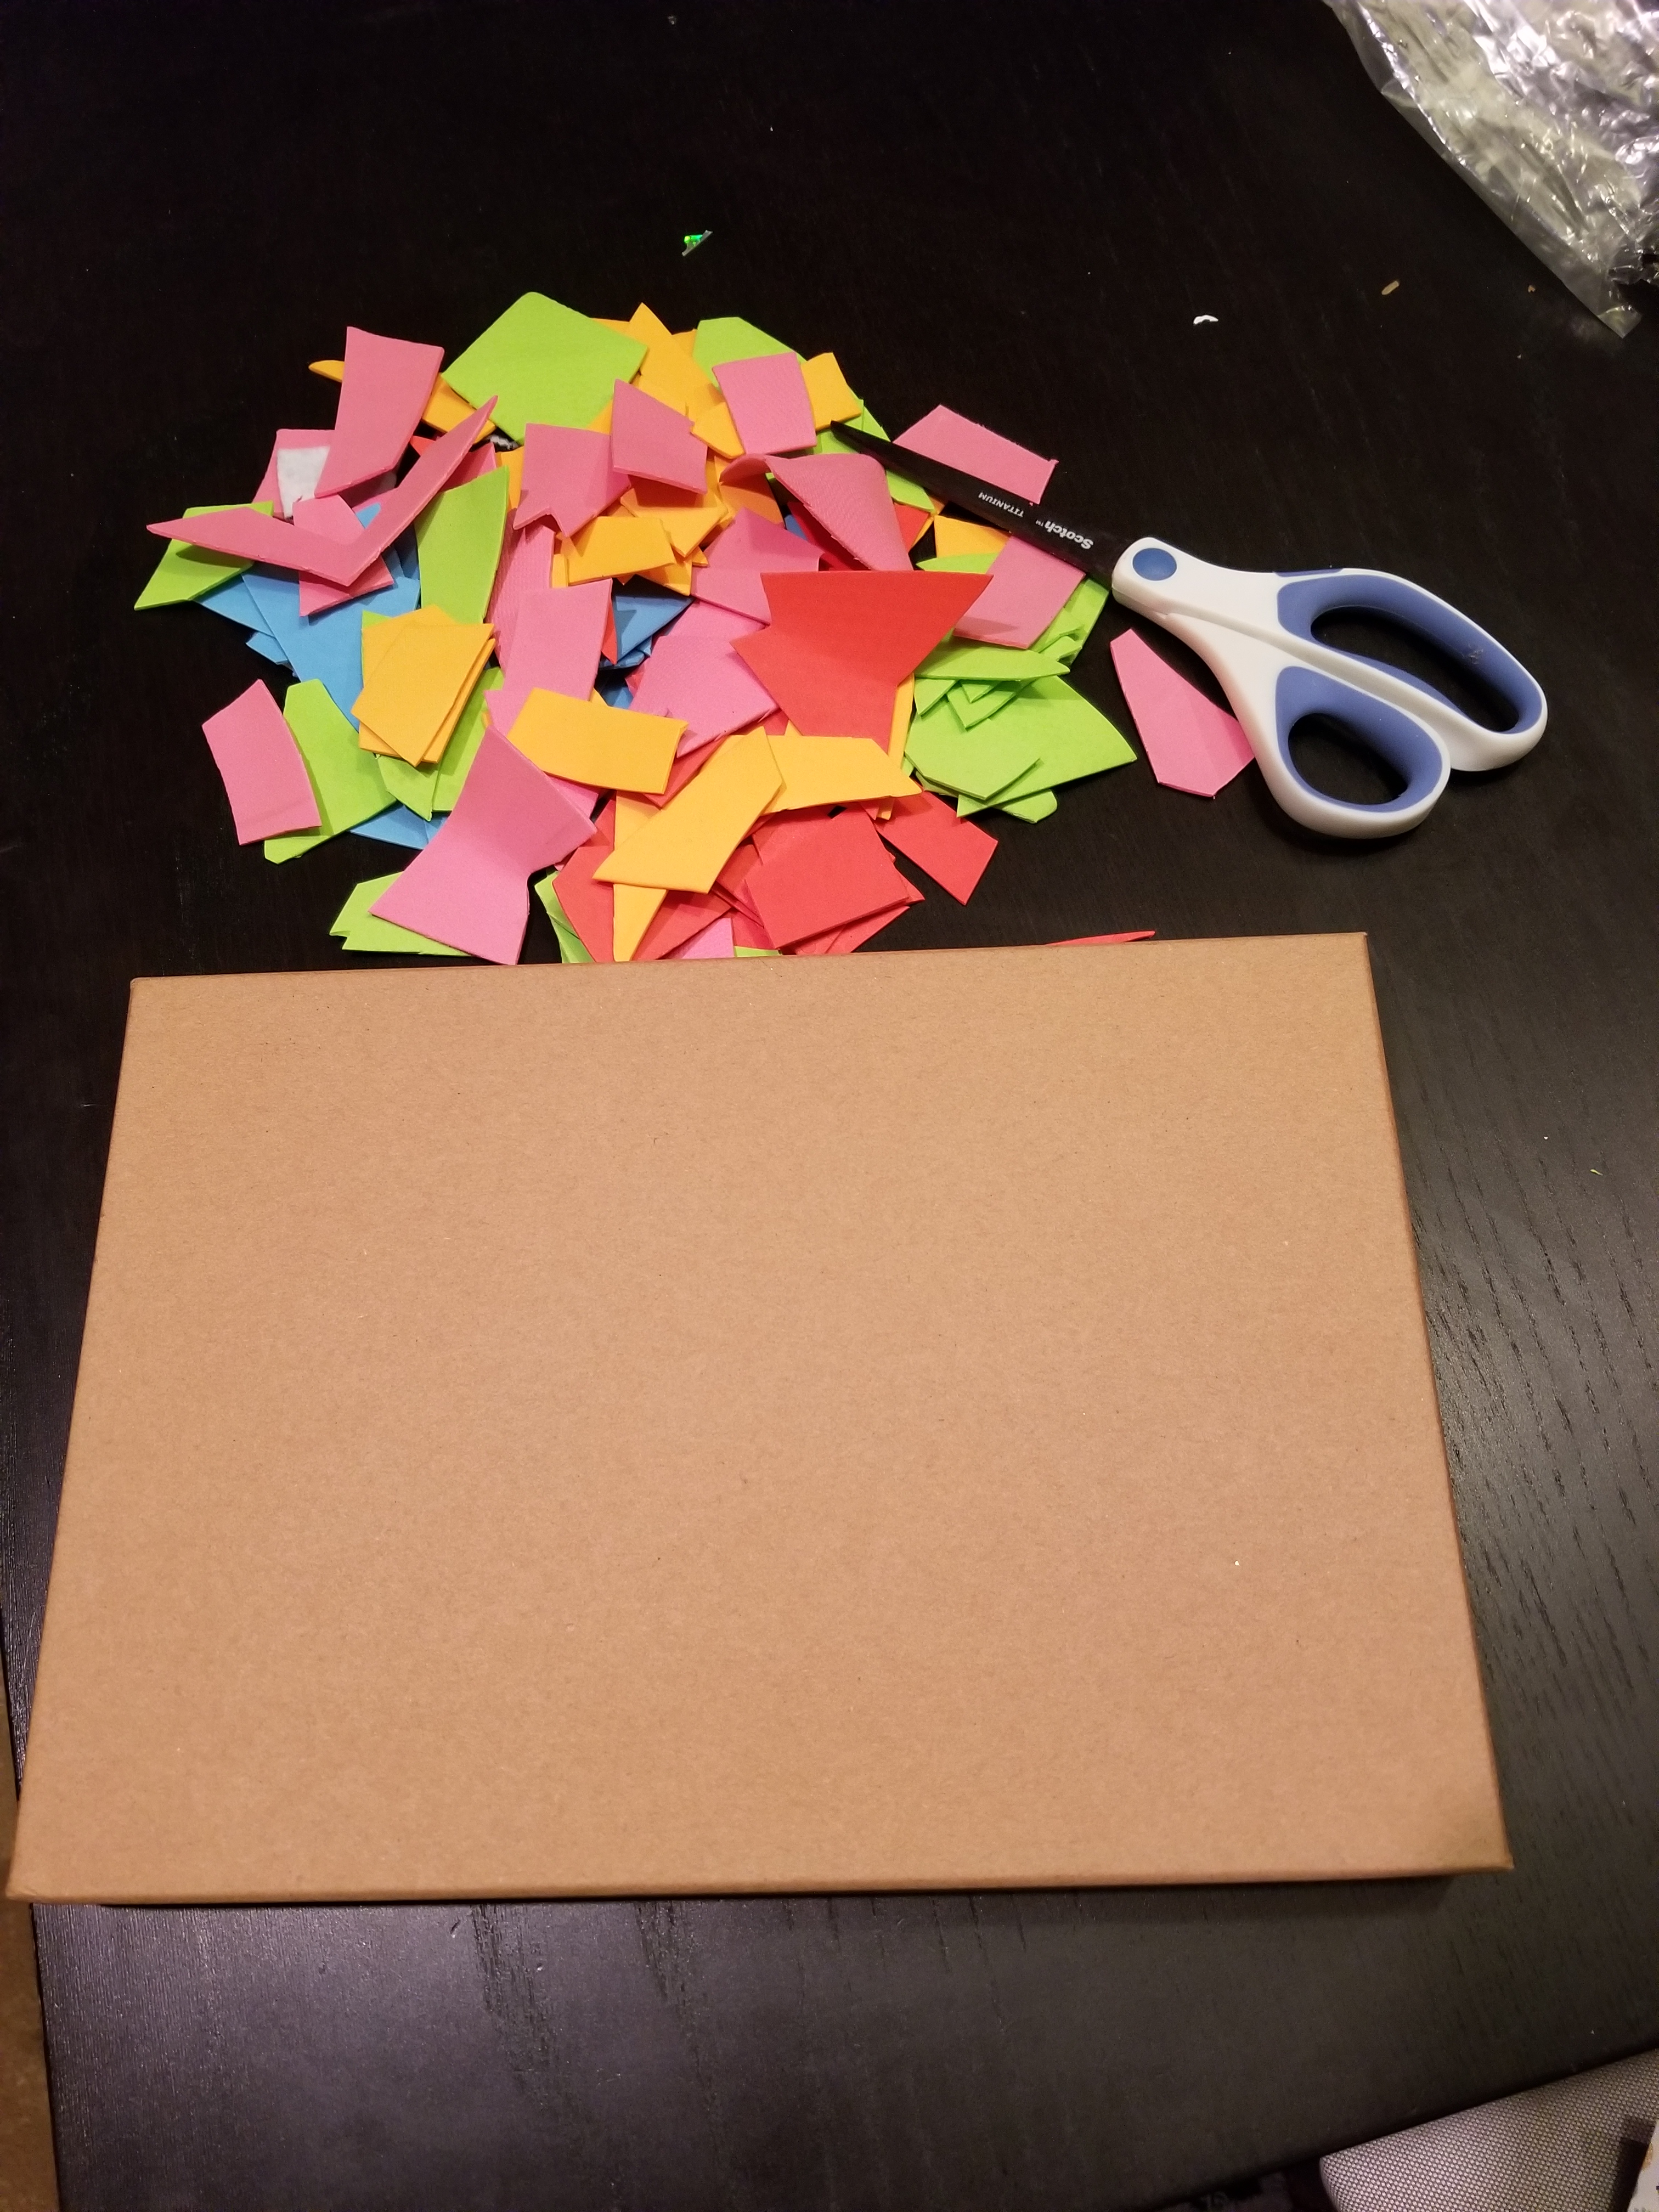
- Take the the colorful foam sheets and cut them into random pieces of various shapes and sizes.
- Beginning from one corner of the lid, start gluing the foam cut outs making a collage like pattern. You can create any pattern you like, using absolutely anything.
- Repeat until the entire lid is covered, and make sure to engage your family to help with it as it does take time and is a fun group activity.

For the inside of the lid –
- Find a memorable picture of your little one and place it inside a zip lock ( This will help to preserve the picture).
- Using tape, stick the ziplock to the inside of the box lid.
- Customize and add words to describe the box using colorful pens/markers. I used a silver pen since our lid had a black background color.


For the outside of the box:
- Measure and cut the cardstock paper and using glue cover the three sides of the box.
- Use the forth side of the box for labeling. Our box came with a label, but you can use a black paper and cut out an oval shape.
- Have your little one name the box using colorful pens. I used a silver gel pen.
And here it is a colorful montage inspired box for holding those precious memories.
We decided to take it a step further and created a worksheet to capture our lil ones favorite things from his school year. You can customize to capture what you like. I am planning to use this every year and I am sure they are going to be amazing keepsakes.
That’s it, our cute lil project was all ready, and left us feeling accomplished for the day.

Hope you liked idea and it inspires you to create something memorable.
Do leave a comment and let me know.


Awesome Idea.
LikeLike
Thanks a lot Naren!
LikeLike
This is awesome, Ive been wanting to create a wedding keep sake box and I feel this is the inspiration I needed.
LikeLike
Aww, thank you! You should totally make one and make it together with your to-be better half!
LikeLike
Woww, very creative and looks beautiful 👌😘. I will definitely give a try🤗.
LikeLike
Thanks a lot dear! You should definitely try!
LikeLike
Beautiful. Great idea.
LikeLike
Thanks a lot dear!
LikeLike